How to Run AVD with AMD Ryzen CPU in Android Studio?
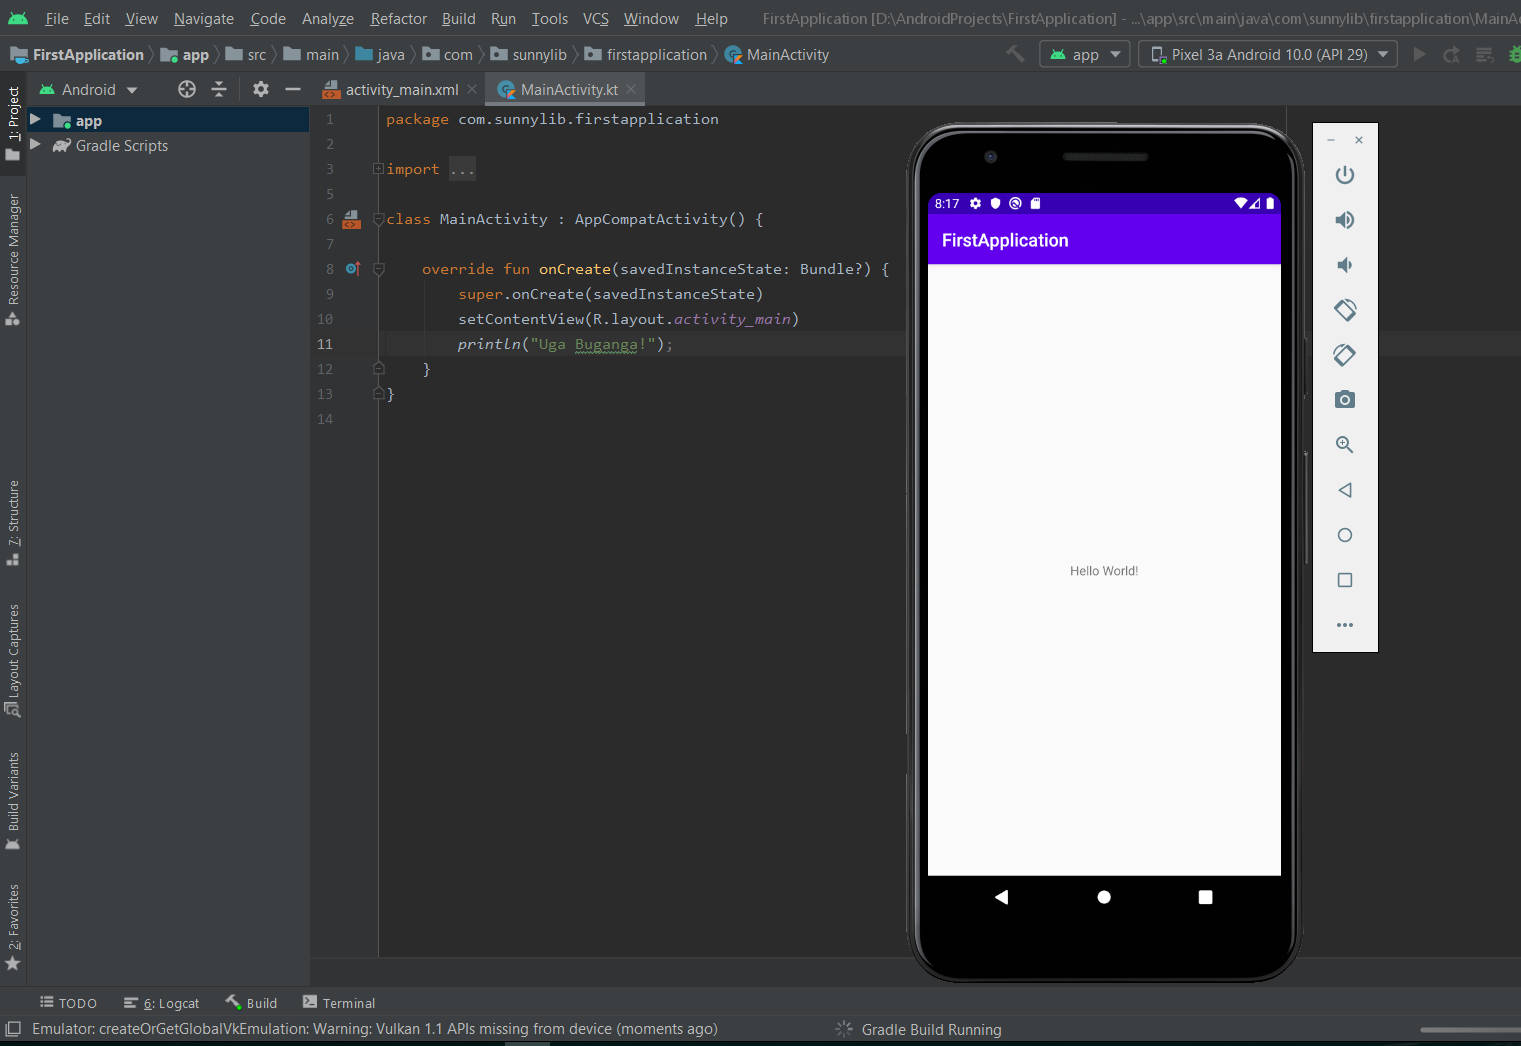
When I launched The Android Studio SDK for the first time I encountered a huge problem. I wrote a typical “Hello World” application and after that I just wanted to launch AVD (Android Virtual Device) to see how it works. I couldn’t, couldn’t because of Intel HAXM, which stands for Intel® Hardware Accelerated Execution Manager and what I read later – is not supported for AMD Ryzen processors. I spent a lot of hours for searching any solution or for trying to take it on my own hands. In this short article I give you a quick guide how to solve it, just for save your precious time – let’s start.
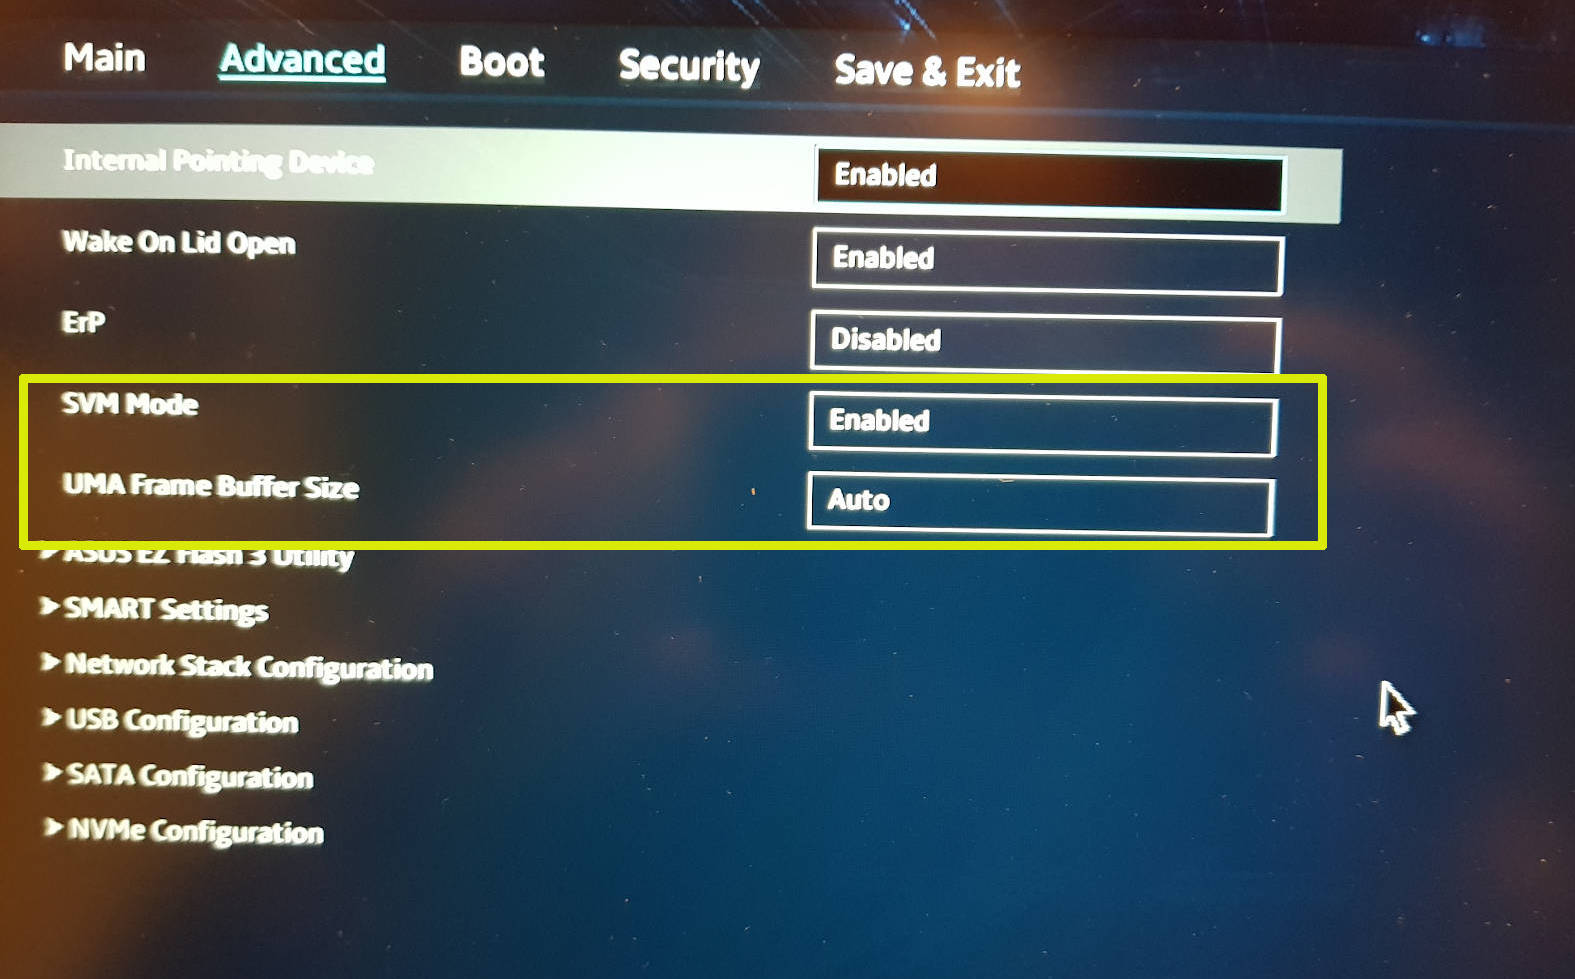
As the prerequisite, we have to change some options in BIOS. So restart your machine, enter the BIOS menu and search for the SVM Mode option and enable it. After that find the UMA Frame Buffer Size row and set it to auto as the image below.
Ok, after that let your system boot and then you should install Android Studio SDK (version 3.6 or higher). The next step is to install all necessary packages related to the Android Emulator Hypervisor Driver for AMD Processors, so in Android Studio go to Tools > SDK Manager > SDK Tools Tab and check Android Emulator Hypervisor Driver for AMD Processors (installer) as below.

The last thing is to turn on Windows features like Virtual Machine Platform and Windows Hypervisor Platform. Open the Control Panel and go to Programs and Features application. In the left-top corner click on Turn windows features on or off. From the select menu, check these two options like below:
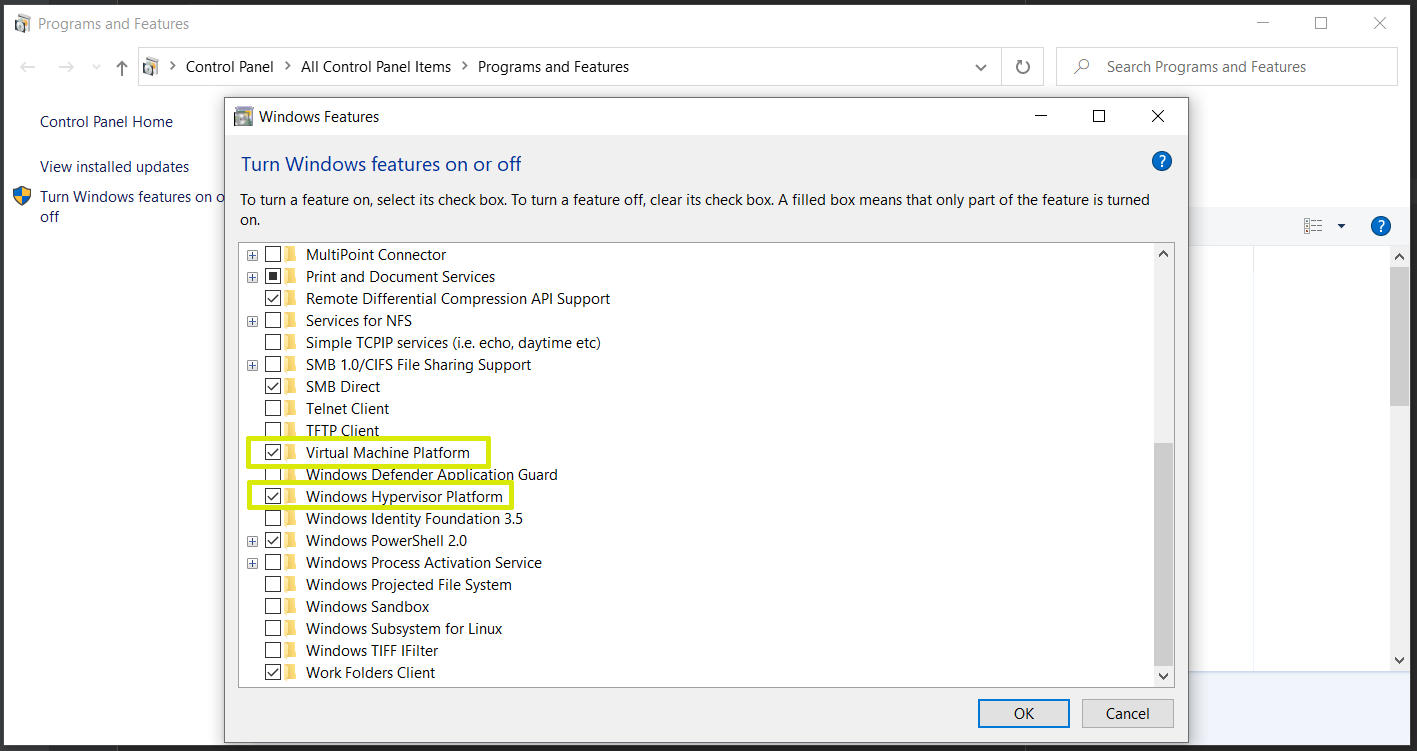
Click ok and reboot your machine. After a successful boot, create an Android Virtual Device in Android Studio as usual. Tested on Windows 10 PRO and AMD Ryzen 5 3550H and works perfectly. If you have any question, just add a comment below. Take care!
